Windows comes with multiple useful features to enhance your computing experience and solve issues on your PC. However, when your computer takes too long to boot or throws any error before you see your desktop, Windows lets you fix that too. You may use the System Configuration Tool to modify various boot parameters and fix problems that crop up before seeing the Windows desktop screen.

Despite being fairly useful, many don’t make the best of the System Configuration Tool. We’ll share a bit about the System Configuration Tool and how to easily access it to troubleshoot and fix issues on your Windows 11 PC.
What Is the System Configuration Tool
The System Configuration Tool (MSConfig) is a handy utility built into Windows to troubleshoot and fix problems that can interfere with the Windows boot process, preventing your PC from starting/booting properly.
Apart from troubleshooting issues, the System Configuration Tool is also useful if you want to reduce your PC’s boot time, i.e., the time it takes for your PC to start or choose which programs and services start with your PC.
It’s helpful if you have multiple operating systems installed on your computer, and you can choose to assign the order in which they appear on the boot screen. This tools lets you tackle basic tweaks to advanced settings for booting Windows.
How to Access System Configuration Tool on Windows 11
Akin to most other administrative tools in Windows, there are multiple ways to access the System Configuration Tool on your Windows 11 computer. You can take a look at our guide on the best ways to access System Configuration tool (MSConfig). You can follow the steps listed below:
Step 1: Press the Windows + R keys on the keyboard to access the Run dialog box.

Step 2: In the Run dialog that opens, type MSConfig. Then click OK or press Enter.

That’ll open the System Configuration Tool window on your computer.
How to Use System Configuration Tool on Windows 11
The System Configuration Tool is divided into five tabs for easy navigation, each with a different set of functions. Here’s what you can do under each tab:
1. The General Tab
The General tab offers the Startup selection options that you can use to configure your system’s startup behavior. The Startup section consists of three startup options that allow you to choose which services, devices and drivers start whenever you boot your PC with varying degrees of control.

The three startup options include Normal Startup, Diagnostic Startup and Selective Startup. Here’s what each option does:
- Normal startup: As the name suggests, this mode loads up all the usual services and drivers as they normally would when the PC boots up.
- Diagnostic startup: Similar to Safe Mode, this option only loads up the essential services and devices. However, some of the more advanced services, such as Networking, System Restore, and Windows Error Reporting, are halted to diagnose and fix software issues.
- Selective startup: This mode offers two other sub-options that allow you to select whether you want to Load system services, Load startup items, or both.
To boot your PC into a certain Startup mode, click on the boot mode under Startup selection followed by Apply. Next, restart your PC.
2. The Boot Tab
The boot tab of the System Configuration Tool lets change how your computer boots and offers the ability to choose the default operating system (if you have more than one operating system on your PC), enable Safe mode with different configurations or drivers, and more.
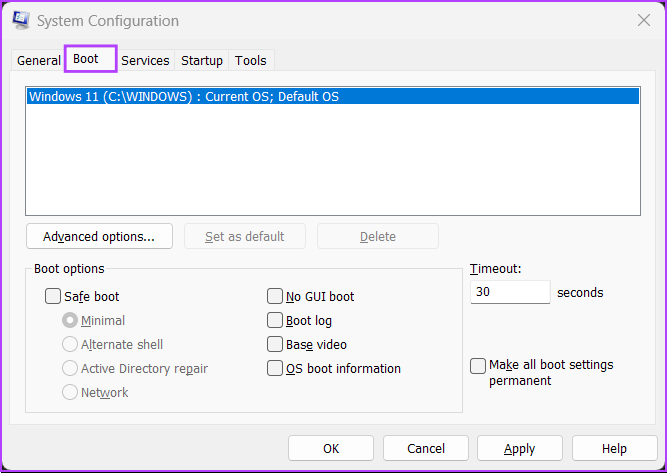
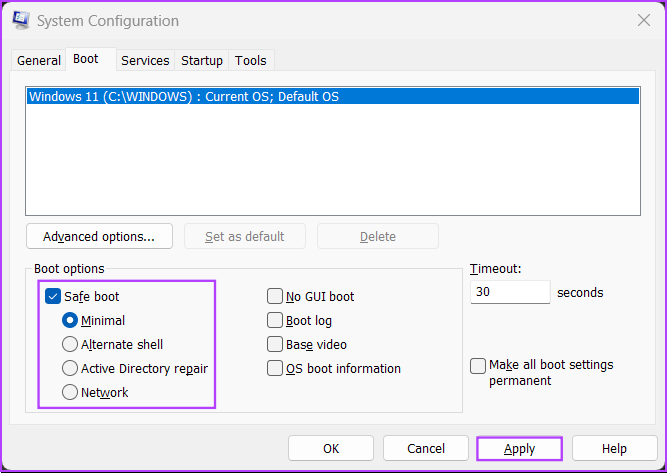
The primary function of the Boot tab is to let you customize the different settings that may impact booting your PC. Also, it is a quick way to boot your PC into safe mode by clicking the Safe Boot check box, followed by Apply.
As for the four sub-options listed below, you can choose any one according to your use case. Here’s what selecting each option does:
- Minimal: Selecting this option disables networking and allows you to load Windows in safe mode while running critical system services.
- Alternate shell: This option also disables networking but boots to a Command Prompt Window in safe mode while running critical system services.
- Active Directory repair: Only applicable to Windows Server operating systems, selecting Active Directory repair allows an administrator to repair an Active Directory database.
- Network: Pretty similar to the Minimal boot mode, except with networking enabled.
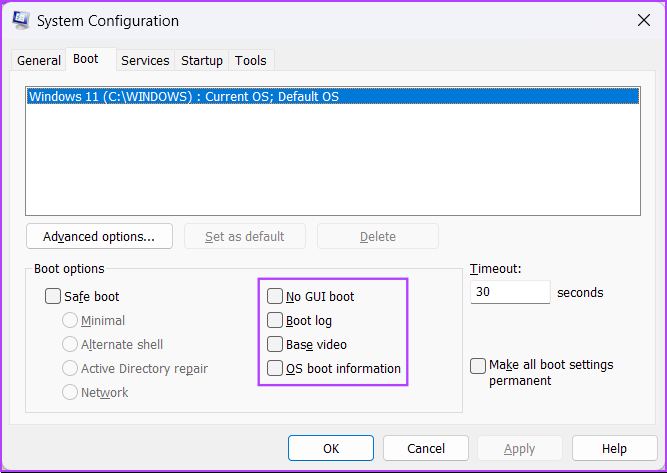
Safe boot and its sub-options aside, there are four other options listed under Boot Options. Here’s what selecting each one does:
- No GUI boot: This option disables the Windows splash screen (manufacturer/Windows logo) when booting. Useful for troubleshooting issues related to graphics/video card.
- Boot log: Select this option to create a log file with all the technical information about the boot process.
- Base video: This option Boots Windows in minimal VGA (lower resolution) mode. Also useful for troubleshooting issues related to graphics/video card.
- OS boot information: Selecting this option lets you reveal the name of every driver and service when loaded during the boot process.
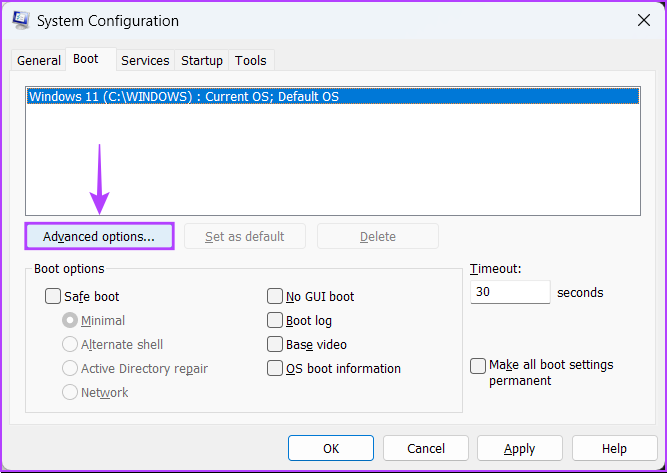
You can also use the Boot tab to limit the number of processors (CPU processing cores) and the maximum memory (RAM) your system can utilize. Here’s how:
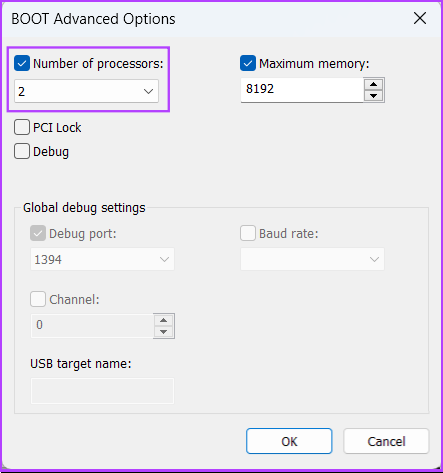
Step 1: Head to the Boot Tab of the System Configuration Tool and select your current operating system. Then click on Advanced options.
Step 2: When a ‘BOOT Advanced Options’ dialog appears on your screen, click on the ‘Number of processors’ check box, followed by the drop-down list right below it, to select the number of processors your system can use.
Step 3: Change the maximum memory utilized by your system, click on the Maximum memory: check box and use the arrow keys on your keyboard to set its value.
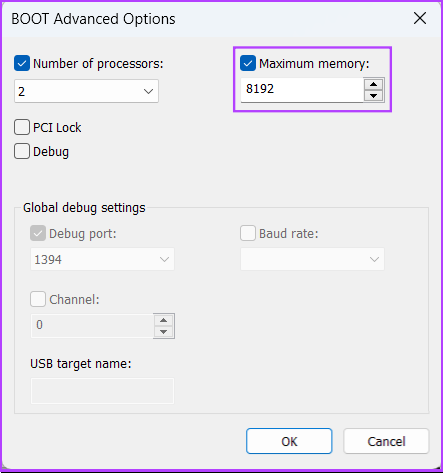
Step 4: Once configured, click on OK to Save the changes.

You can check the Make all boot settings permanent: Changes made in System Configuration are not tracked. If you want to make changes later, you will have to do so manually. Selecting Normal startup in the General tab does not work if this feature is selected.
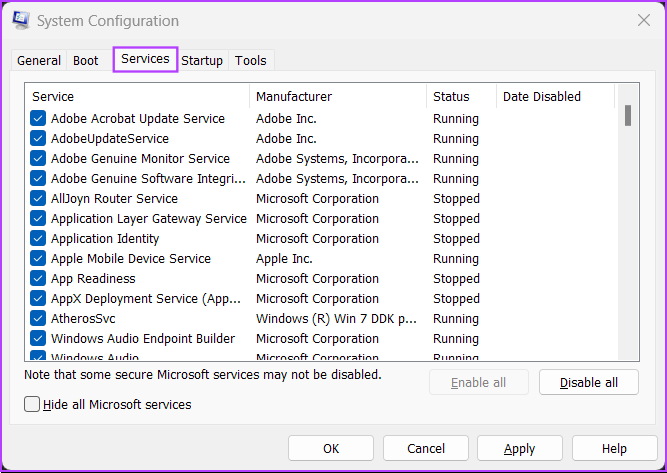
3. The Services Tab
The Services tab lets you manually enable or disable the services that start with your PC. It’s a perfect way to look for and stop rouge services that might interfere with your system’s stability.
To choose which services launch when you boot your PC, click the hide all Microsoft services check box to ensure you’re not messing with some important service. Then click on Disable all.
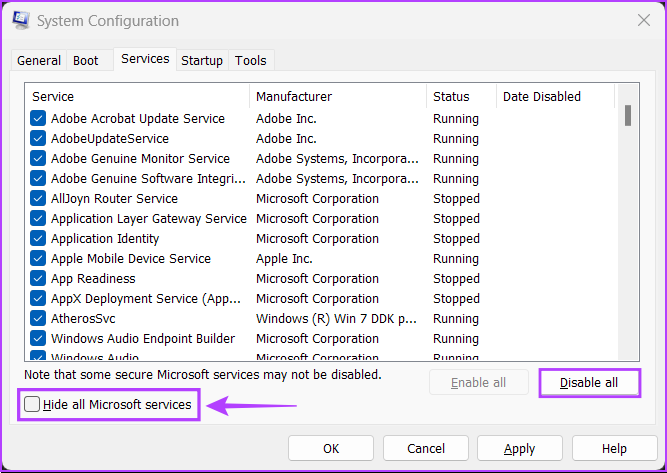
After that, select the ones you want by clicking on the check boxes before their name.
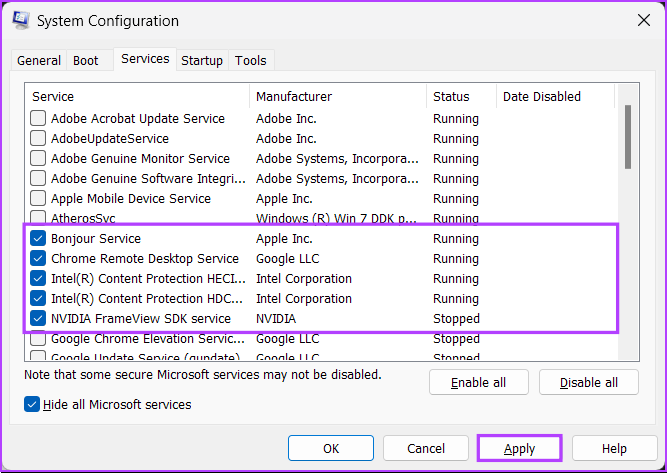
After you’re done, click on Apply. Your PC will restart and boot only with the selected services. You may repeat the process to add or remove more services to run at startup.
4. The Startup Tab
The Startup tab is where you can configure which apps should launch automatically every time your PC starts, at least on Windows 10 and other older versions.
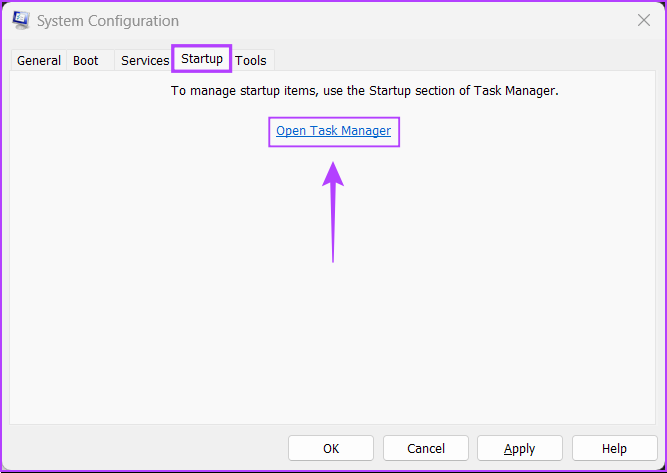
With the advent of Windows 11’s resigned Task Manager, Microsoft has changed things up, and the Startup tab found in the System Configuration Tool only offers a link that redirects you to the Startup tab of the Task Manager.
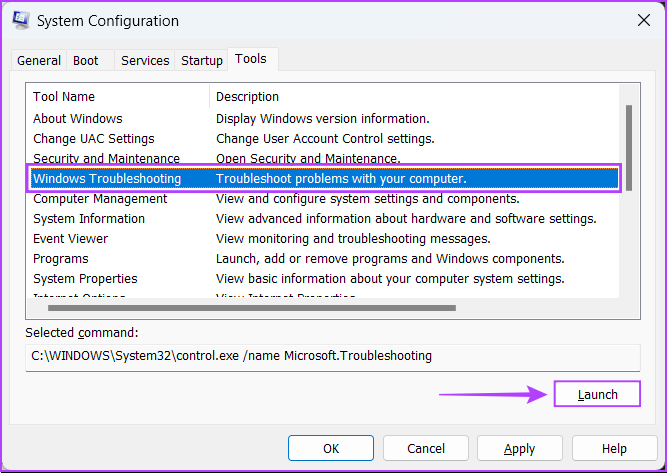
5. The Tools Tab
You can use the Tools tab in the System Configuration Tool to launch many other useful utilities built into Windows. The Tools tab organizes all the important tools and utilities into a handy list for easy access when needed.
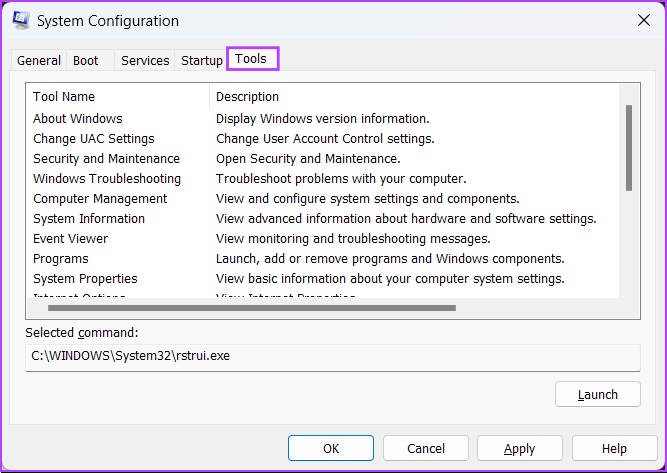
If you want to access a utility listed under the Tools tab of the System Configuration Tool, select the tool of your choice and click on Launch.
Get the Most Out of System Configuration Tool
Whether it’s a new computer or old, you may use the System Configuration Tool to boot your Windows 11 PC into safe mode, diagnose buggy software, launch useful tools and much more without worrying about messing something up. Make sure you take a backup of your data and set System Restore points before you proceed to tinker around.
Last updated on 12 October, 2022
The above article may contain affiliate links which help support Guiding Tech. However, it does not affect our editorial integrity. The content remains unbiased and authentic.
DID YOU KNOW
In 1981, the crew of STS-43 Atlantis sent the first e-mail from space.
