Windows 11 lets you create and use multiple user accounts so that each person can have their own user space. However, to prevent someone from accessing a shared computer, you can disable their user account in Windows 11.

Of course, you can also delete the user account entirely. However, doing so would erase all data associated with that account, such as documents, photos, apps, etc. Plus, disabling the account will give you the option to re-enable the account in the future. This post will show you four easy ways to enable or disable user accounts in Windows 11. So, let’s take a look.
1. Enable or Disable User Accounts via the Settings App
The Settings app lets you create and manage all your user accounts from one place. It also allows you to enable or disable a family member’s account. Here’s how to access it.
Step 1: Click the Start button and click the gear-shaped icon to launch the Settings app.

Step 2: Navigate to the Accounts tab on the sidebar and click on Family from the right pane.

Step 3: Under Your family section, click on the account you want to disable and select ‘Block sign in.’

Step 4: Click Block to confirm.

After you disable the account, you’ll see the ‘Allow sign in’ button. You can click on it to re-enable the account in the future.

2. Enable or Disable User Accounts With Command Prompt
The Settings app makes it simple to enable or disable a family member’s account, but what if you want to enable or disable a Microsoft account or a local account? That’s where Command Prompt can help. You can run a few commands in Command Prompt to quickly enable or disable a Microsoft or a local account in Windows 11. Here’s how:
Step 1: Right-click on the Start icon and select Terminal (Admin) from the following menu.

Step 2: Select Yes when the User Account Control (UAC) prompt appears.

Step 3: In the console, paste the following command and press Enter to view the available accounts:
net user
Note down the name of the user account you want to disable from the first column.

Step 4: Type the following command and press Enter to disable the user account.
net user AccountName /active:no
Replace AccountName in the above command with the actual account name you noted in the previous step.

After that, Windows will disable the specified account. If you want to re-enable the account at any point, use the following command.
net user AccountName /active:yes
Again, make sure you replace AccountName in the command with the actual account name.

3. Enable or Disable User Accounts With Windows PowerShell
Windows PowerShell is yet another command-line tool to enable or disable user accounts in Windows 11. Here are the steps you can follow.
Step 1: Click the search icon on the Taskbar, type Windows PowerShell in the box, and select Run as Administrator.

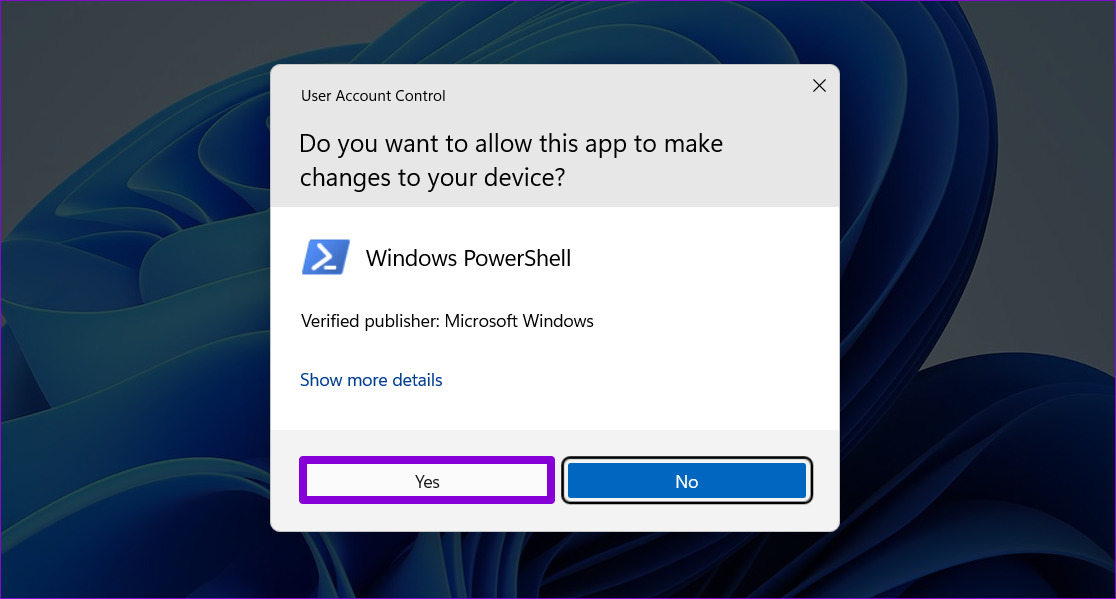
Step 2: Select Yes when the User Account Control (UAC) prompt appears.
Step 3: Run the following command to view a list of user accounts on the system.
Get-LocalUser
Note down the name of the account you want to disable from the Name column.

Step 4: Paste the following command and press Enter to disable the account.
Disable-LocalUser -Name "AccountName"
Replace AccountName in the above command with the actual name of the account noted in the previous step.

If you want to re-enable the account in the future, you can use the following command.
Enable-LocalUser -Name "AccountName"

4. Enable or Disable User Accounts Using the Computer Management App
Computer Management is a useful app that lets you access tools like Event Viewer, Task Scheduler, Device Manager, and others from one place. It also has a section called Local Users and Groups, where you can enable and disable Windows user accounts.
Note that the Local Users and Groups section is only accessible on PCs running Windows 11 Pro, Education, and Enterprise editions. If you’re running Windows 11 Home, you’ll need to use one of the other methods listed above.
Use the following steps to enable or disable user accounts via Computer Management.
Step 1: Press the Windows key + R to open the Run command dialog box. Type compmgmt.msc and press Enter.

Step 2: Expand System Tools from the left pane.

Step 3: Expand ‘Local Users and Groups’ and select the Users folder. On your right, you’ll see a list of user accounts on your PC. Right-click on the account you want to enable or disable and select Properties.

Step 4: Check the ‘Account is disabled’ option to disable the account. To enable the account, uncheck the ‘Account is disabled’ option. Then, hit Apply followed by OK.

Managing Windows 11 User Accounts
After you disable a user account in Windows 11, it will disappear from the login screen and the Start menu. However, the account data will remain intact and you can re-enable the account at any time.
So, which method will you use to enable or disable user accounts in Windows 11? Tell us in the comments below.
Last updated on 21 October, 2022
The above article may contain affiliate links which help support Guiding Tech. However, it does not affect our editorial integrity. The content remains unbiased and authentic.
DID YOU KNOW
The Apple Watch Series 4 boasts of Bluetooth 5.0.

