One of the bizarre errors that Android users face is SIM card related. Some users encounter the ‘SIM Not Provisioned’ error on their Android phones and that means telephony isn’t possible. That stops mobile connectivity for calls and data connection.
While you can always use Wi-Fi Calling, but sometimes you may have to rely solely on the mobile network. So to help you resume taking calls, we bring you some working solutions to fix the ‘No SIM Card’ error on Android.
1. Re-Insert SIM Card
Starting with some basic solutions, you should first eject and re-insert your SIM card again into your Android phone. Ensure that the SIM card has been placed correctly on the SIM tray. Eject the SIM tray and insert it again to check if this problem is resolved on your Android phone. If not, refer to the next solutions below.
2. Check SIM Card Damage
Another reason you see the ‘No SIM Card’ error on your Android is that your SIM card probably has some scratches due to multiple insertions. This can prevent your SIM card from being read properly. If your SIM card has lots of scratches, we suggest getting a new one from your Mobile Network Operator.
3. Check if SIM Card Is Enabled
Your Android phone allows you to disable your SIM card network, especially if you are using a Dual SIM Android phone. So if you can’t see any network strength on your Android phone, you can check if your SIM card has been disabled.
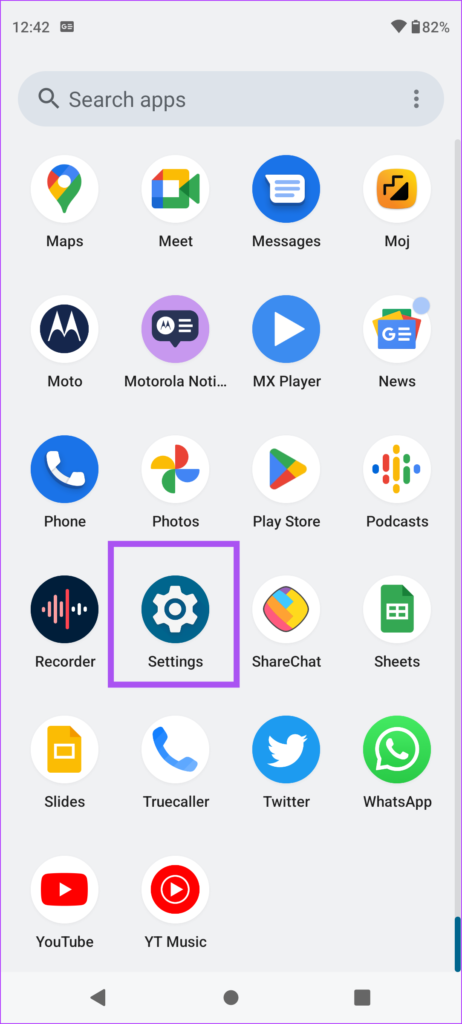
Step 1: Open the Settings app on your Android phone.
Step 2: Tap on ‘Network and Internet.’
Step 3: Select Mobile Network.
Step 4: Tap the toggle next to Use SIM to enable the SIM card network.
Step 5: Close the Settings app and check if the problem is solved.
Alternatively, here’s how you can check if your SIM card is enabled.
Step 1: Open the Settings app on your Android phone.
Step 2: Tap on ‘Network and Internet.’
Step 3: Tap on Calls & SMS.
Step 4: Select SIM Preferences.
Step 5: Tap the toggle next to your SIM card name to enable it.
4. Enable and Disable Airplane Mode
Airplane Mode will instantly disconnect all the wireless networks, like Mobile Data, Wi-Fi, and Bluetooth on your Android. You can try to enable and disable the Airplane Mode to check if that solves the problem.
Step 1: Open Settings on your Android phone.
Step 2: Tap on Network and Internet.
Step 3: Tap the toggle next to Airplane Mode to enable it.
Step 4: Wait for some time and tap the toggle again to disable Airplane Mode.
Step 5: Close Settings and check if the problem is solved.
5. Switch to Auto Network Mode
You can also let your Android phone automatically select your Mobile Network based on your current location. This should also help in removing the ‘No SIM Card’ error.
Step 1: Open Settings on your Android phone.
Step 2: Tap on Network and Internet.
Step 3: Tap on Mobile Network.
Step 4: Scroll down and tap the toggle next to ‘Automatically select network.’
Step 5: Close the Settings app and wait some time to check if the problem is solved.
6. Update Access Point Name
An Access Point Name (APN) helps provide all the necessary details for your Android phone to connect to Mobile Data. You can update the name of your Access Point on your Android phone based on your Carrier to check if the problem is solved. Note that we are using a Motorola phone running on Stock Android to look for the APN settings.
Step 1: Open the Settings app on your Android phone.
Step 2: Tap on Network & Internet.
Step 3: Select Mobile Network.
Step 4: Scroll down to the bottom and tap on ‘Access point names.’
Step 5: Tap the Plus icon in the top-right corner to add a new APN.
Step 6: Visit the support section of your carrier’s website and look for the APN settings. Then, fill them accordingly on your Android phone exactly as provided by the carrier.
Step 7: Once entered, tap the three dots in the top-right corner and select Save.

Step 8: Close the Settings app and check if the problem is solved.
7. Reset Network Settings
As the name suggests, this option will reset the preferences of wireless networks, including mobile data on your Android phone. You can try this option if you are still seeing this error.
Step 1: Open the Settings app on your Android phone.
Step 2: Scroll down to the bottom and tap on System.
Step 3: Select Reset Options.
Step 4: Tap on Reset Wi-Fi, Mobile, and Bluetooth.
Step 5: Tap on Reset Settings again to confirm your choice.
After that, check if the problem is solved.
8. Update Android Version
The last solution we recommend is updating the version of Android on your phone. This should remove the bugs or glitches in the current version causing this issue.
Step 1: Open Settings on your iPhone.
Step 2: Scroll down and tap on System Updates.
Step 3: Tap on Check For Updates.
Step 4: If an update is available, download and install it.
Once done, check if the problem is solved. If the issue persists, we suggest contacting your Mobile Network Operator.
Resume Calls on Android
These solutions should help in resuming calls on your Android phone. You can also read our post on how to dial an Extension on Android.
Last updated on 30 January, 2023
The above article may contain affiliate links which help support Guiding Tech. However, it does not affect our editorial integrity. The content remains unbiased and authentic.


